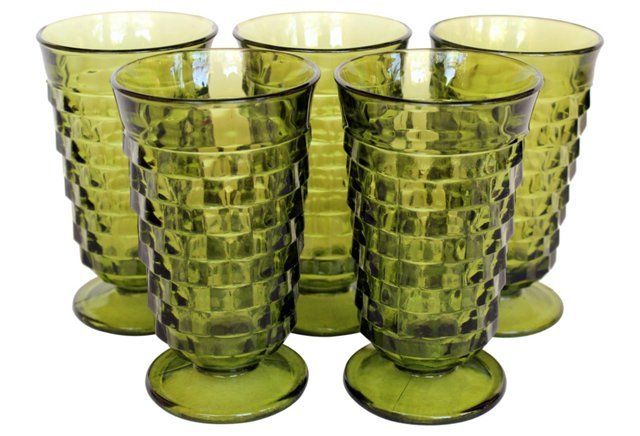
As you can see in the second picture and link… these 5 vintage green cups are on sale at Onekingslane.com for $99 (that’s on SALE for about $20 each)! Either I need to start pricing my vintage cup candles for more or you need to start shopping at shopellion! I almost ALWAYS have green vintage glass in stock. Green and amber vintage glass were obviously a huge hit back in the day and they always catch my eye. In case you’re totally out of the loop, mid century modern decor and furniture is “in” and these vintage glass candles make the perfect accent – and smell lovely too! Stop by my etsy shop to check out what I have listed: www.shopellion.etsy.com or check out the latest updates on shopellion facebook page and instagram @shopellion.
I actually got my bedside tables about 2 years ago from overstock.com but I’m still loving them! I’m pretty positive this is the exact one I got but now they have so many color options! They are a great deal for matching new bedside tables with a mid century modern look!
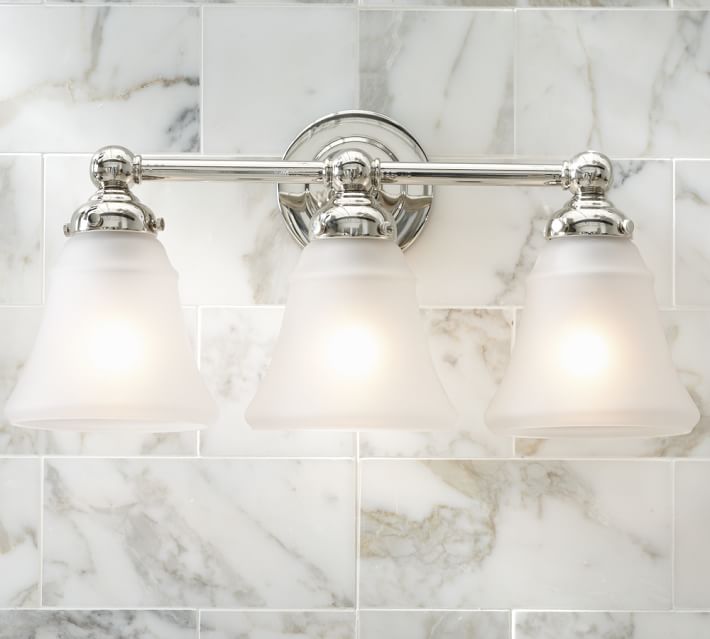
As I mentioned in my hall bathroom before and after post (here), I hadn’t changed the vanity light over the medicine cabinet but was planning on it. I actually put it off for a while because everything I really liked didn’t really go in this bathroom. All of the hardware is chrome, sorry if this offends anyone, but all of the chrome vanity lights that I was coming across seemed too basic for me. Hence…
Ok I’m done! So if you saw my sconce lighting look for less post HERE, you’ll notice none of the lights I picked were chrome… this was my problem. I do like to mix different finishes and textures but I just didn’t think it would work well in this bathroom because everything else was already done. I figured a different finish would stand out too much. I did like the idea of vertical tube lights on either side of the mirror like this (obviously would find a cheaper one)…
But not only did I not want to mess up any more sheetrock and run more electrical wires but I also didn’t even have space to put one on the right side…
Medicine cabinet trim and closet door trim touch (Before)
So after much searching… best resort? Etsy! Where people make custom lights! I bought this bad boy HERE from Ind Lights for $63 with the bulbs! Sometimes you have to spend a little more to think out of the box! I’m sure most light makers would take on custom orders as well! I know I don’t mind taking on custom orders for shopellion! Just like most of my house projects… I have to work with what I have and need to make the outcome perfect! Plus, every creator loves a new change! You should check out their etsy store and website because they have LOTS of other cool lights. Without further ado… before and after…
Before & After – painted door, took down screening, new house numbers, new mailboxFront yard – BeforeAfter – New House numbers, painted door, new mailbox
I wasn’t completely opposed to the red front door but I felt like the front of the house needed some more character! Besides, the husband kept saying it looked to patriotic with the red, white, and blue. I primed and painted the front door within the time it took my husband to make a (longer than usual) home depot run. Considering I painted my door on my old house (from brown to bright blue!) I was familiar with how quick of a job this is but it has a huge impact! A little tip for painting french doors (considering this house has ummm NINE!), you don’t have to tape off every single window pane… just use a razor blade to scrape off the excess dried paint after you are done.
I actually had this gold mail box from an estate sale from a very long time ago… I bought it for maybe $4 so I figured why not… I may replace it later. The terribly painted red mail box wasn’t going to stay… plus my LEAST FAVORITE color combo is red and yellow.
I ordered the house numbers from Etsy (here– font is “Blair” & color is “Jet Black”) and after attempting to glue them up there and smearing yellow glue everywhere (we need to touch that up with some paint ugh)… we decided to use industrial foam double sided mounting tape. Works great!
If you look closely there was a mesh fabric screening on the left side of the house over the sunroom windows… we took those down to make a cleaner/brighter look!
There was also plastic green blinds over every sunroom window (they matched the walls)…took those down too. Sunroom updates will have to come later!
Now I will have to paint the 3 red back doors yellow at some point as well! But for now we will have a warm welcome at the front door!