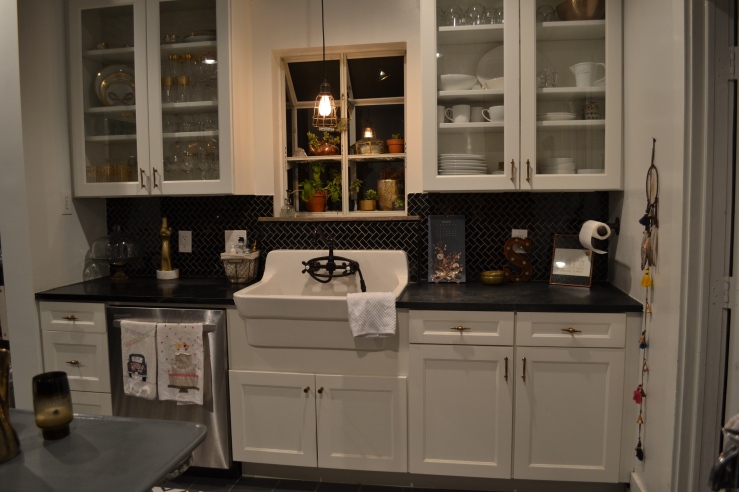
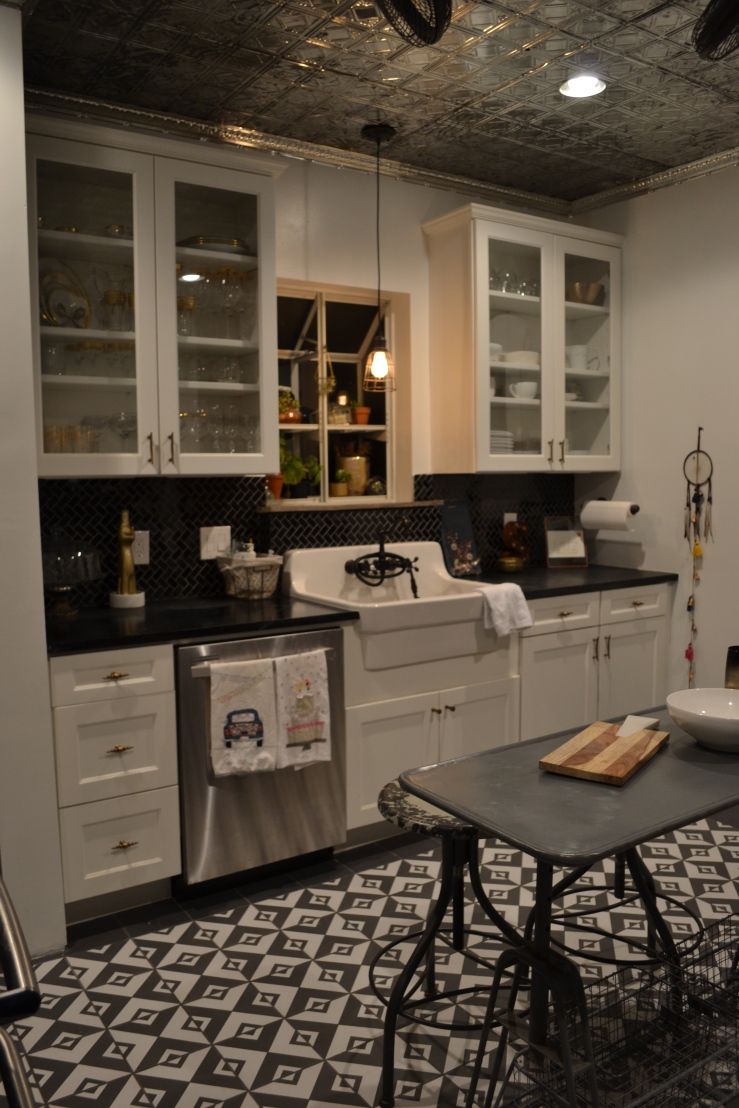
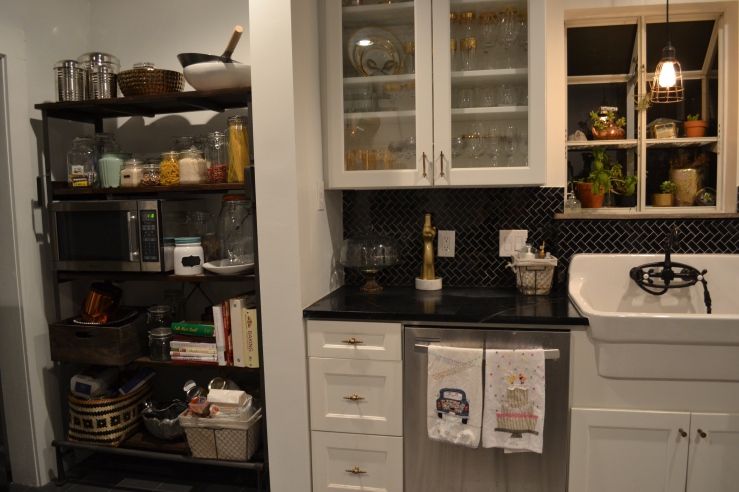
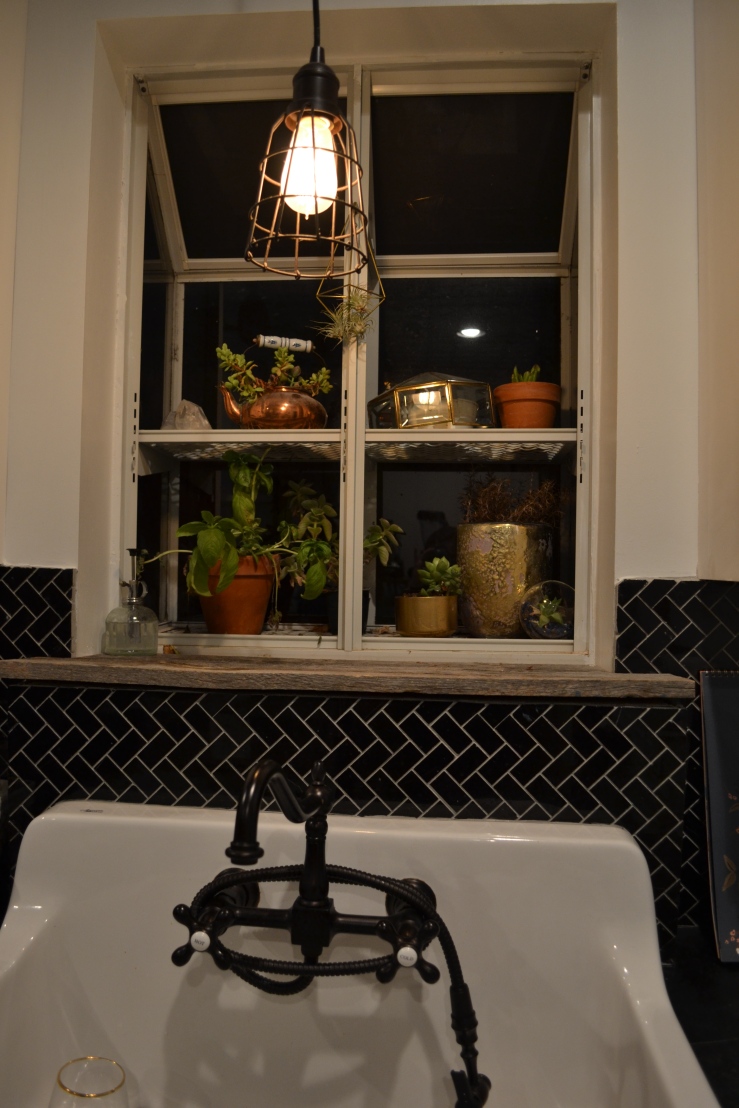
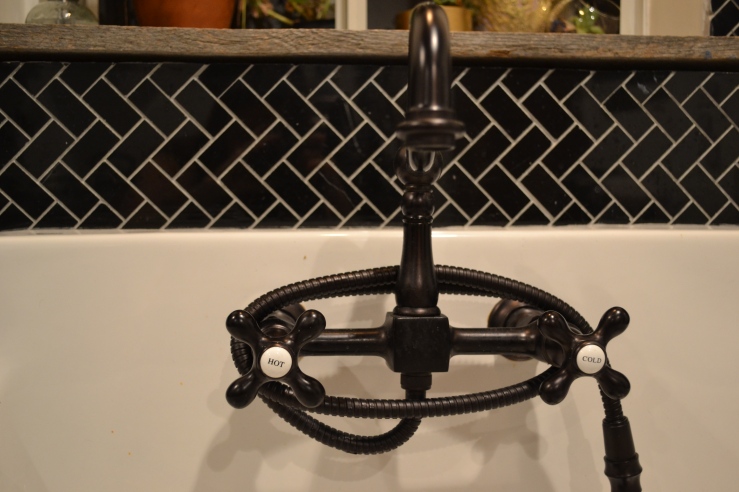
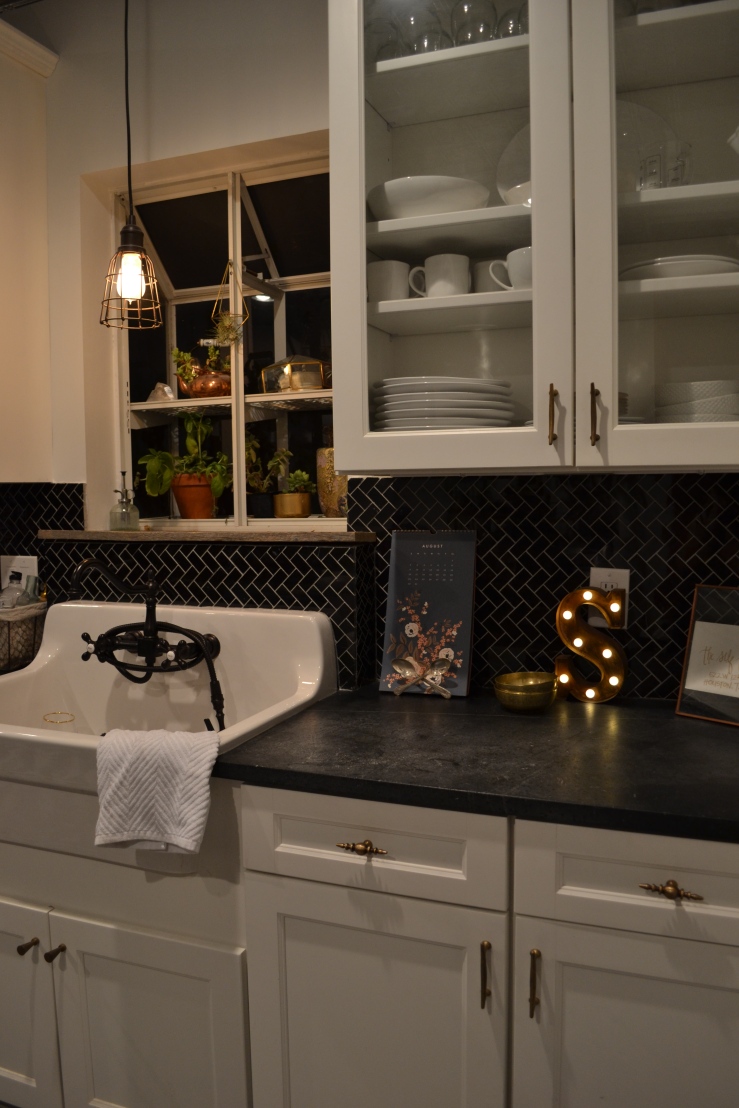
So I’ve definitely already posted a lot of the kitchen remodel throughout the past year but here is the final product! All inclusive!
Incase you haven’t seen the original before pics in my post HERE… Kitchen Before…
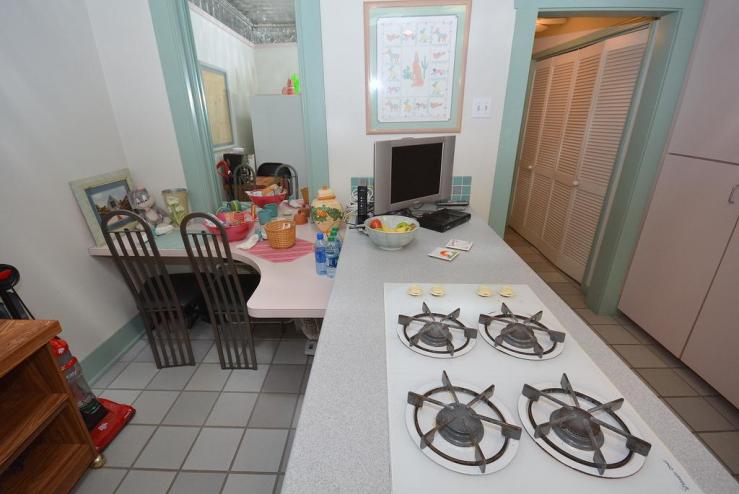

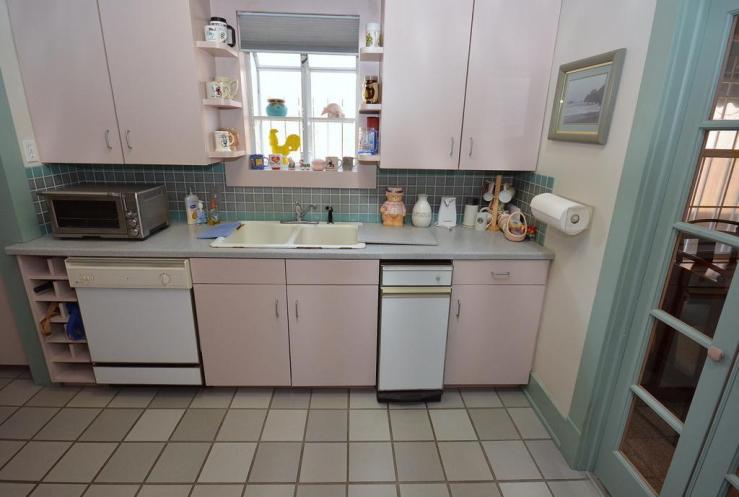
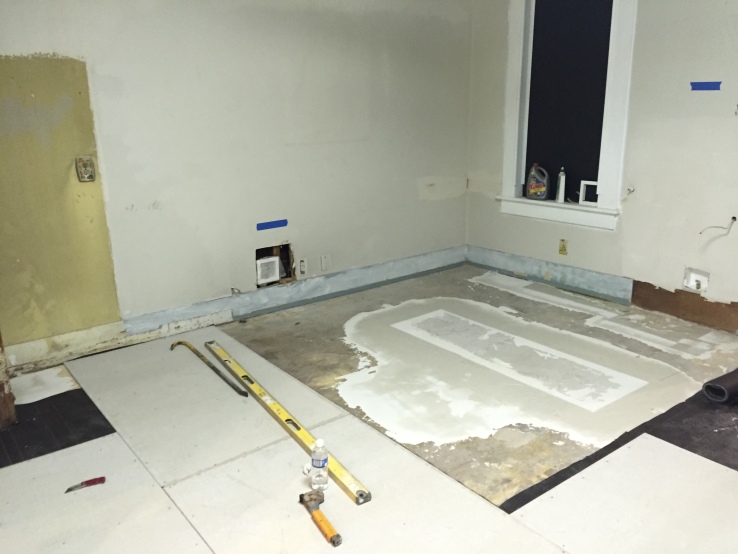
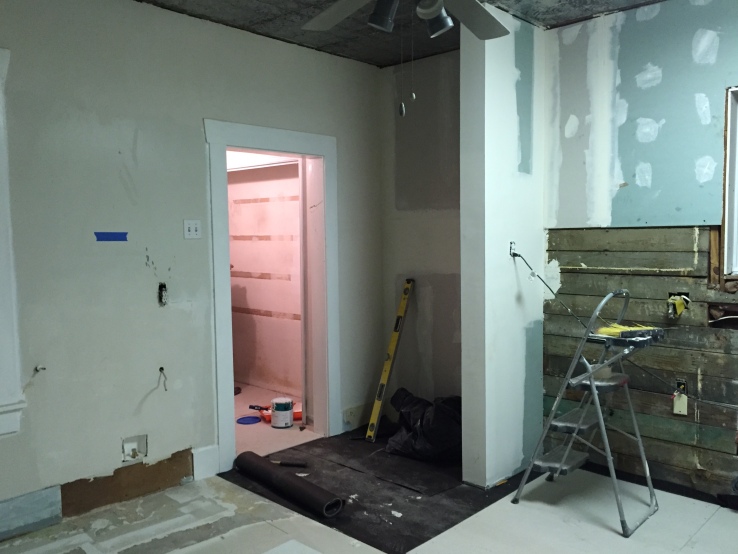
In progress pictures over the past year…
Anddd Here are the After Pictures!!!
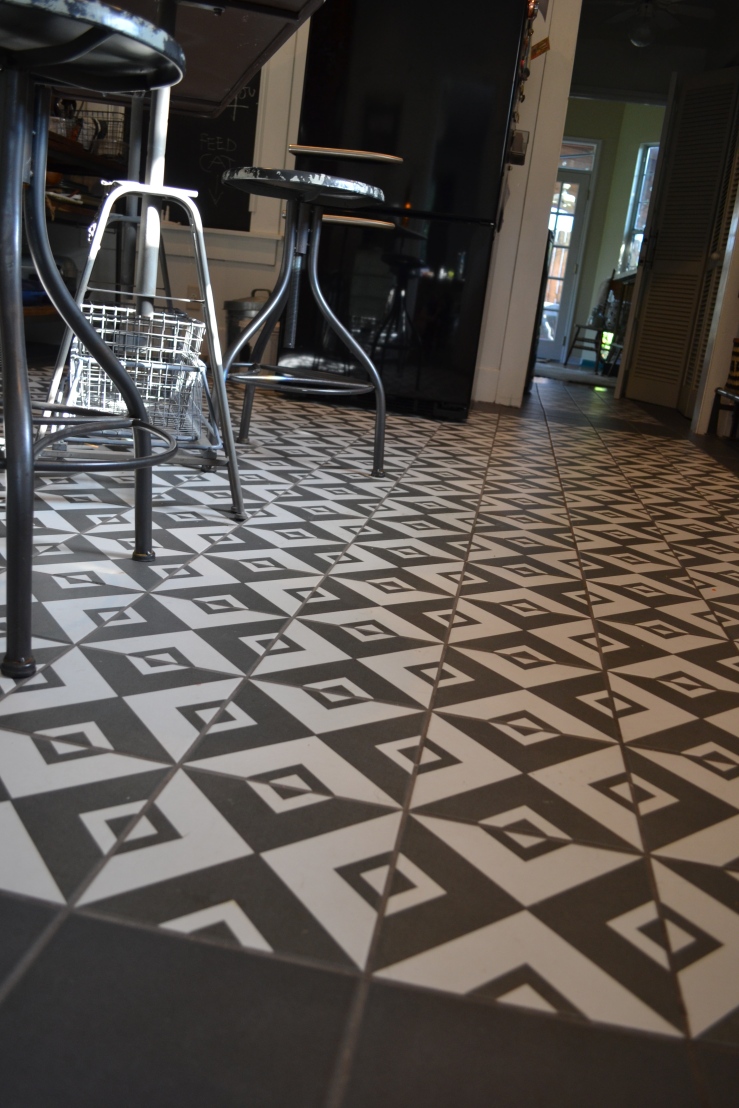
- Tile – Merola Twenties Collection from Home Depot
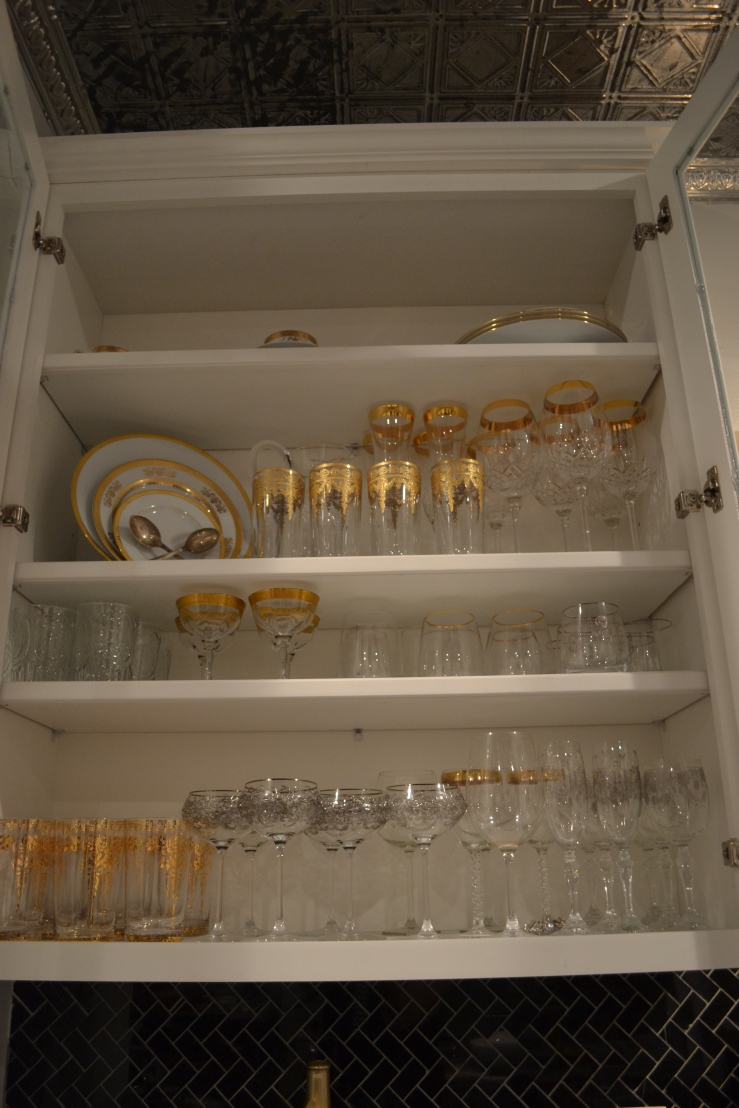
- Cabinets – Factory Builder Stores Houston, TX – Mid Continent Cabinertry – Parker
- Backsplash Tile – thebuilderdepot.com – Nero Marquina (Black Marble) Herringbone
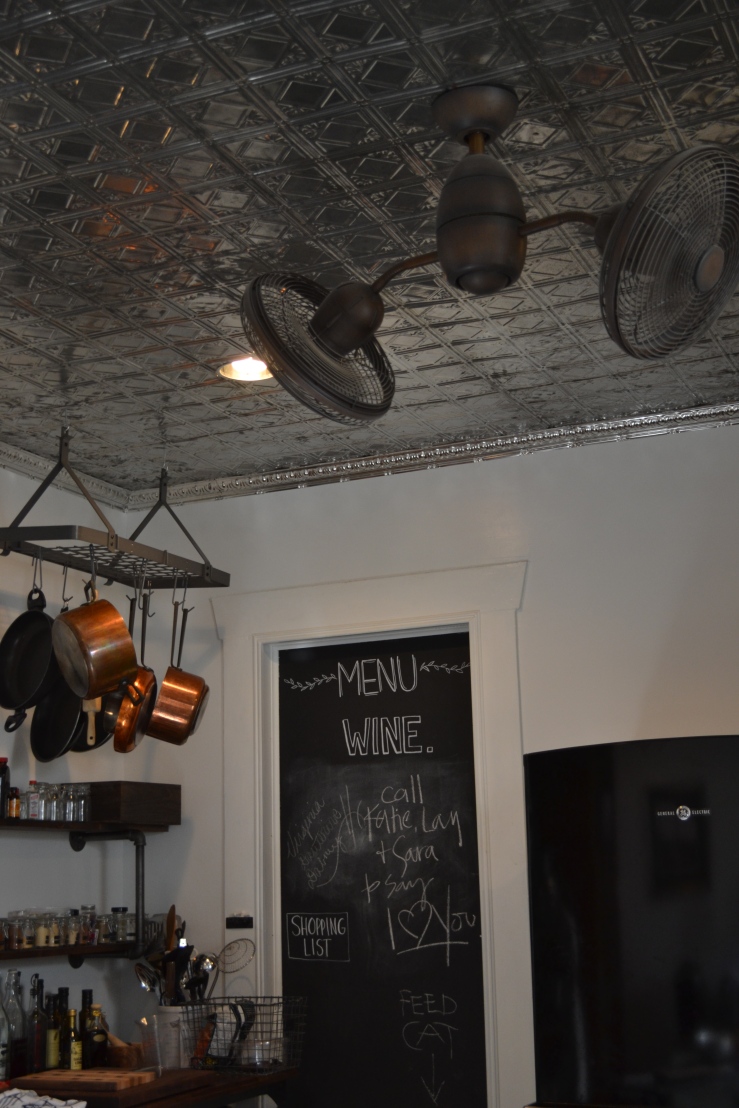
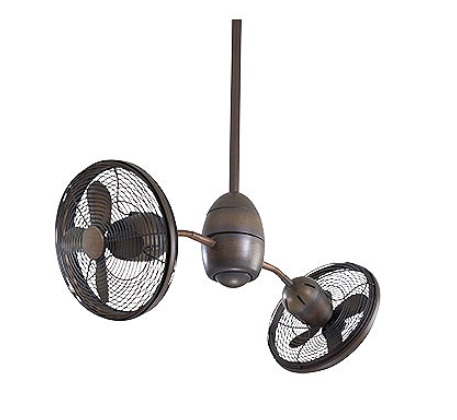
- Fan – houseofantiquehardware.com – Gyrette 36″ Twin Ceiling Fan in Bronze
- Soapstone Countertop – American Countertop Fabricators Houston,TX
- Cabinet pulls – Anthropologie mixed and matched brass
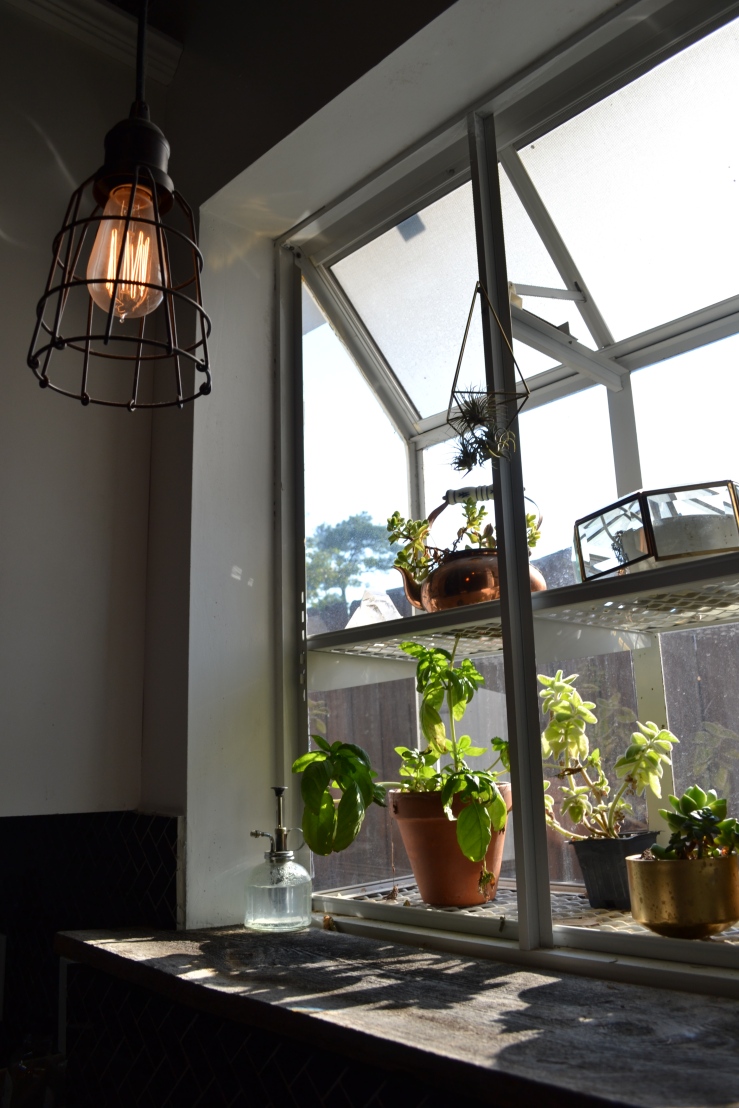
- Sink Light – gilt.com Feiss Urban Renewal 1 Bulb Parisian Bronze Chandelier – $99
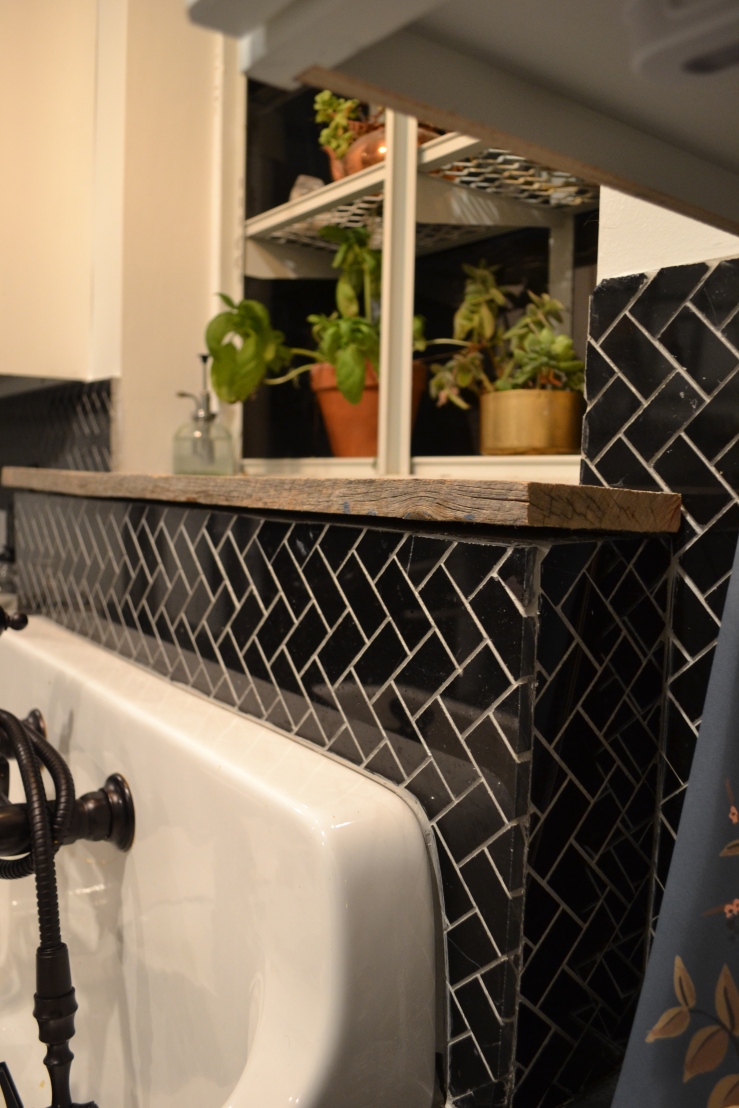
- Barn wood ledge over sink – Clark’s Hardwood Lumber Co.
- Tin ceiling trim – The Tin Man Houston, TX or online
- Refrigerator – see post here
- Sink – Homedepot.com – American Standard Country Base-Mounted Single Bowl Kitchen Sink
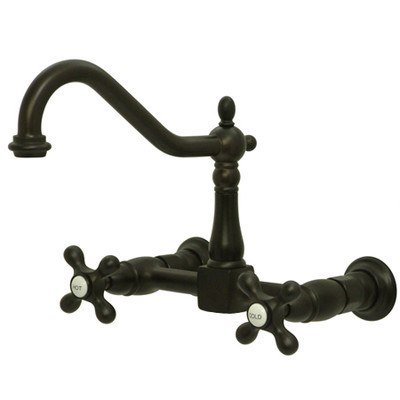
- Sink faucet with Side Spray – Wayfair.com – Heritage Double Handle Wall Mount Kitchen Faucet
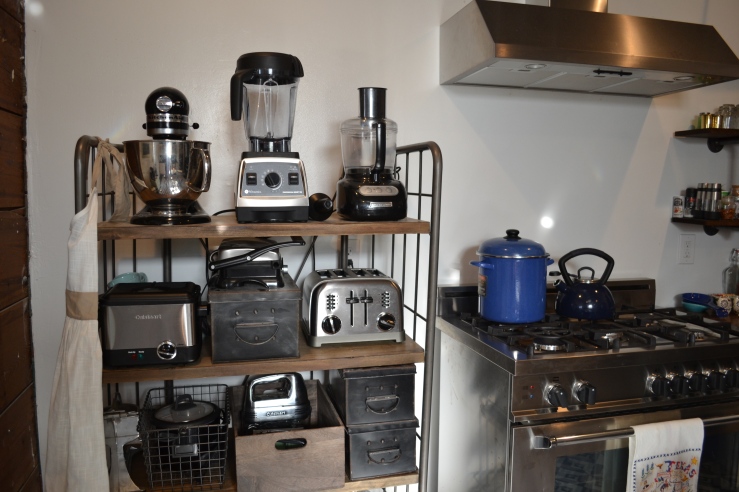
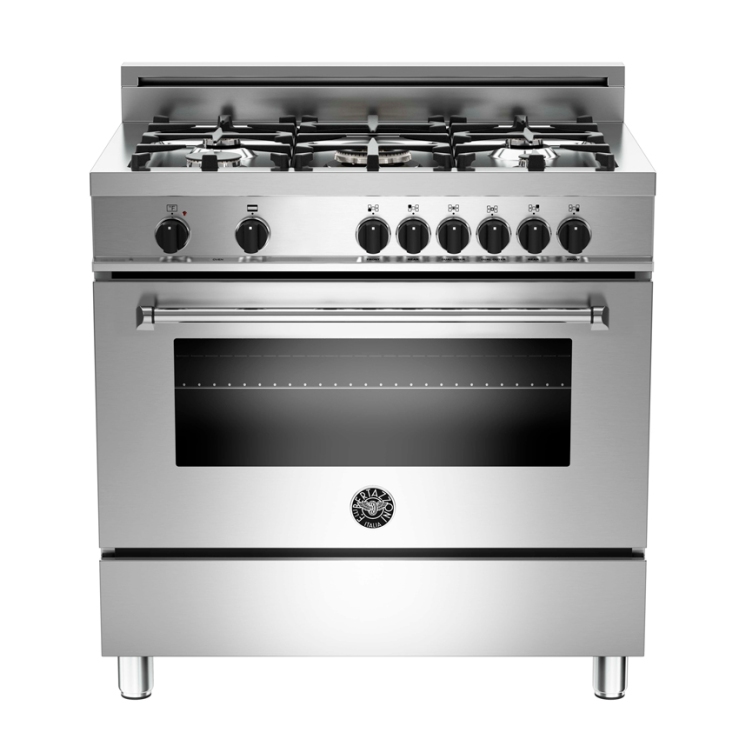
- Range – eliteappliance.com – Bertazzoni Master Series Range 36″ – comes with free hood
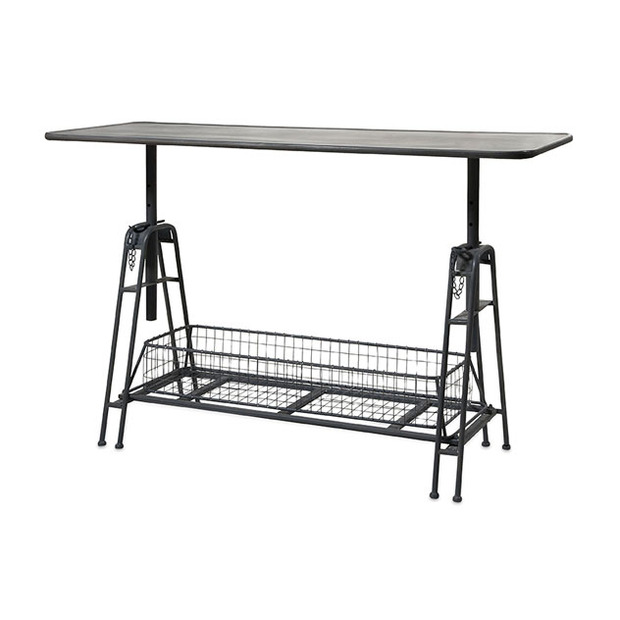
- Island – dotandbo.com – Atelier Loft Great Heights Word Table $279.99
- Bar Stools – amazon.com – Deco 79 Metal Bar Stool
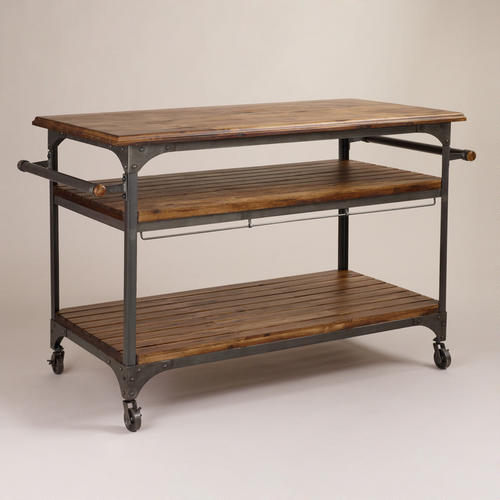
- Work Island Counter Cart (near stove) – Worldmarket – Jackson Kitchen Cart $399.99
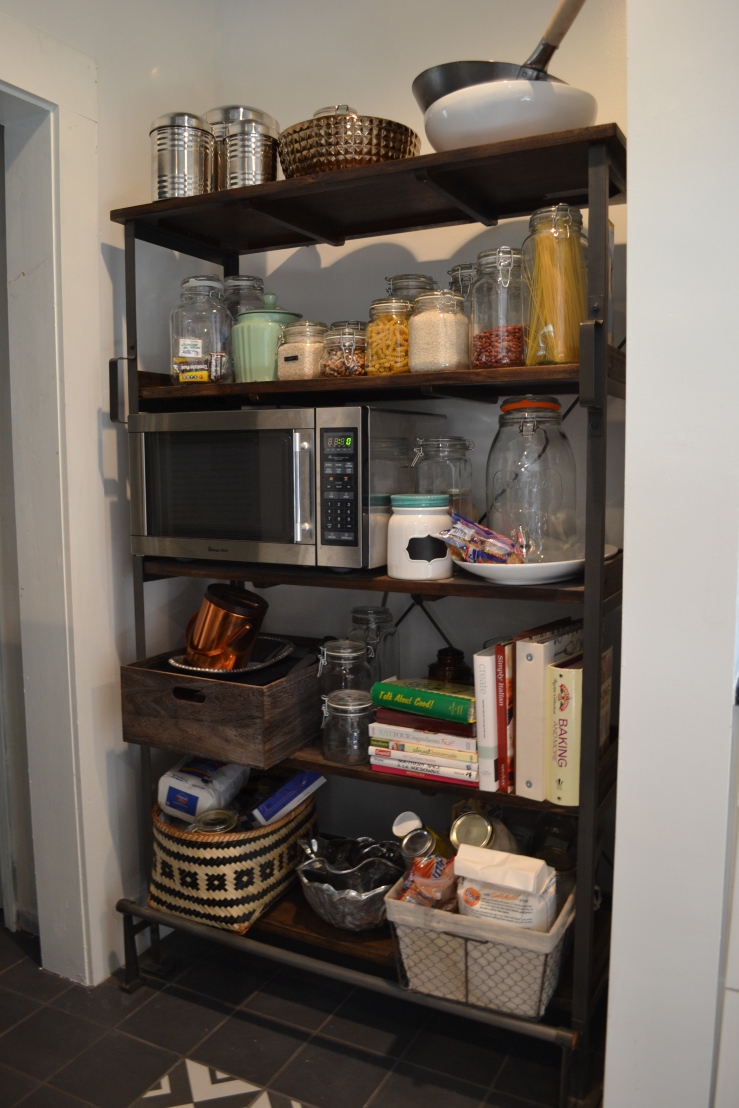
- See shelving post here – World Market Emerson Shelving
- Rolling Baker’s Cart on left of stove – World Market
- Storage Baskets – The Container Store/World Market/OneKingsLane
- DIY Spice shelving instructions post HERE
In case you missed the kitchen floor tile plan post you can check it out HERE!
And in case you missed my kitchen prep area post you can check it out HERE!

choice – Factory Builder Stores
Being an engineer I LOVED that they made these 3D sketches for me with my two cabinet choices! Stephanie at Factory Builder Stores was so helpful and easy to work with… I think we knocked this design out in about 20 minutes of discussion… I had all the measurements and things that I wanted… she set me these sketches and done! We saved some money here by picking up the cabinets ourselves and having our contractor that was already working in the kitchen install them… meanwhile, we were relaxing in Curacao on our honeymoon!



So over this past year there has been so many transformations and projects done in the kitchen! I’m going to try to summarize the progression!
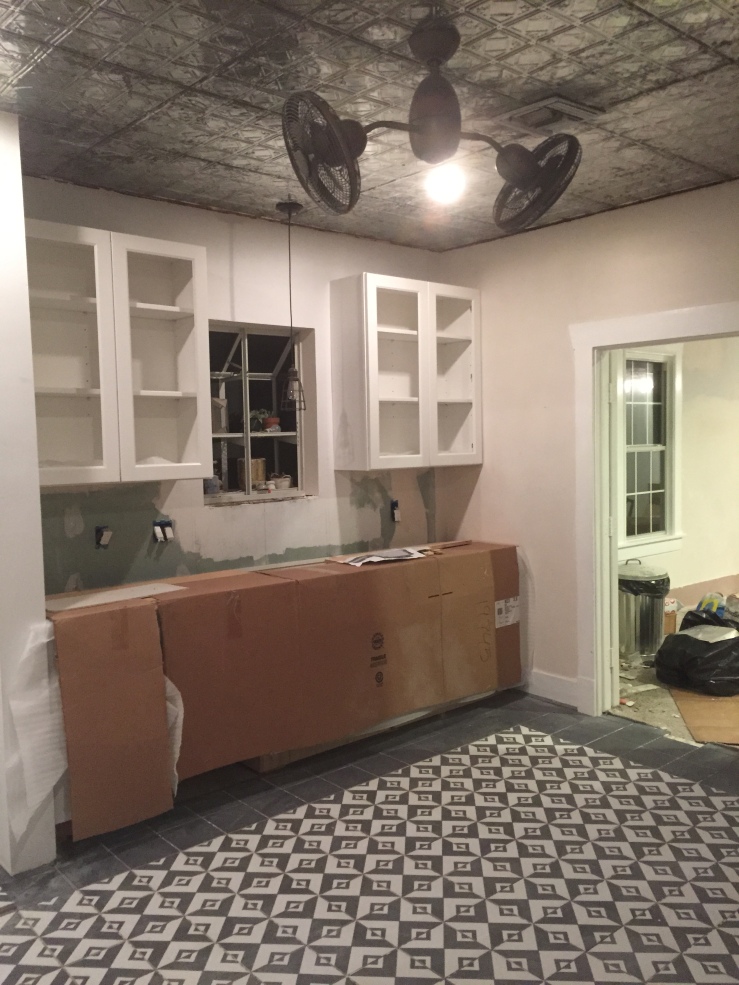
The day we closed on our new house we immediately started to demo parts of the kitchen… the buying process lasted almost two months so that obviously already had my mind going with ideas. Over the next month we demo-ed all of the cabinets, the built in island and table, the large plastic ceiling lighting, all of the appliances (most weren’t even working… the microwave worked, the oven did not, the stove wasn’t plugged in so the previous owner thought that it was broken too, and the trash compacter and washing machine did not work.. I’m not even sure if we checked the dish washer.) We then began to pick up… yes pick up not demo.. the plastic floor tiles to plan the flooring. There is most likely the original wood floors under the plywood that tile was glued to but we really weren’t sure of their condition because we saw evidence of laminate flooring under the plywood. I spent at least a night or two hammering off the green backsplash. We also ripped off the tin trim that was on the tops of the walls to make the ceiling look higher. The tin was covering up some metallic putty sheetrock? We still aren’t sure what that was about. Then we had the plumbers begin the plumbing in the entire house. The fridge water supply needed to be moved to another wall. The old hot water heater was in a closet awkwardly in the kitchen. We decided to have them dispose of the old hot water heater and install a tankless water heater on the outside wall of the kitchen and ripped down the closet to create more space. The kitchen sink pipes and vents were replaced. They also needed to repair some of the sink drain pipes. In the picture above you can see where they removed the sheet rock to expose the old shiplap in order to run the pipes and vent. They also moved our stove gas line from where it was in the middle of the kitchen island to the wall where we have the range now.
The next steps were to re-sheetrock the tops of the walls where we removed the tin trim and where the plumbing was done. We had our contractor install recessed lighting in the tin ceilings. Once the floor tile was laid we had him install the kitchen fan and cabinets.
After that I needed to pick our sink so that he could install it before the backsplash. He had to build up a frame and back support for the sink because it was narrower than the cabinets, that is why there is a box behind the sink where we placed the old barn wood shelf in front of the window. Once that was done we had to pick out a counter top before he could install the backsplash. We went with soapstone and we love it! I plan on doing a post about soapstone counter tops soon. The backsplash was the last task for our contractors!
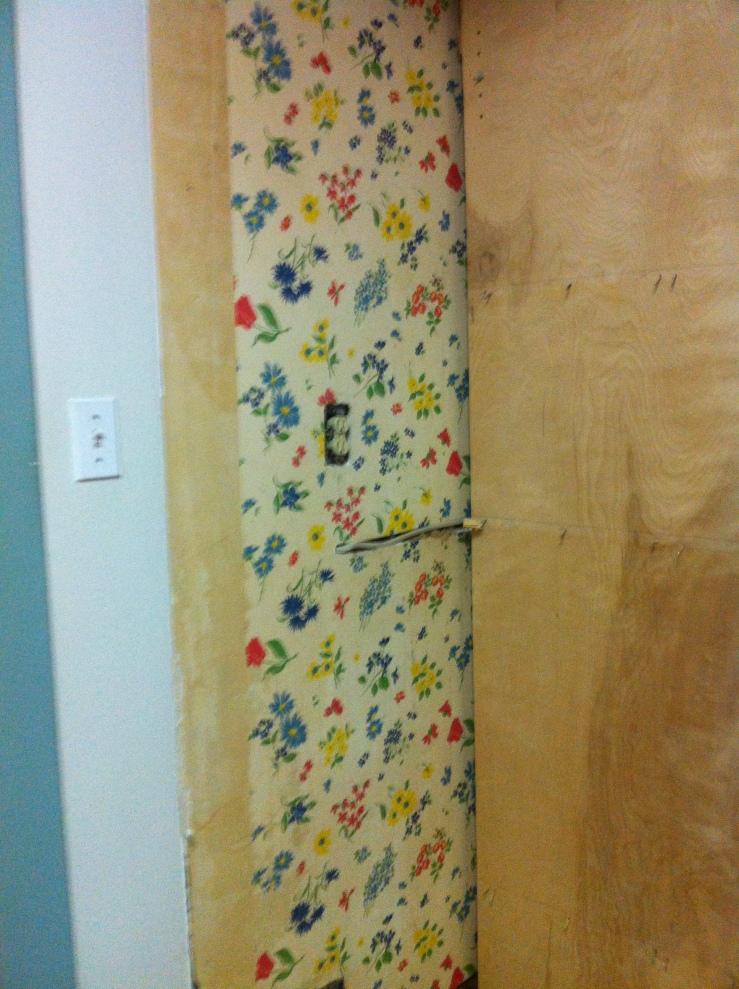
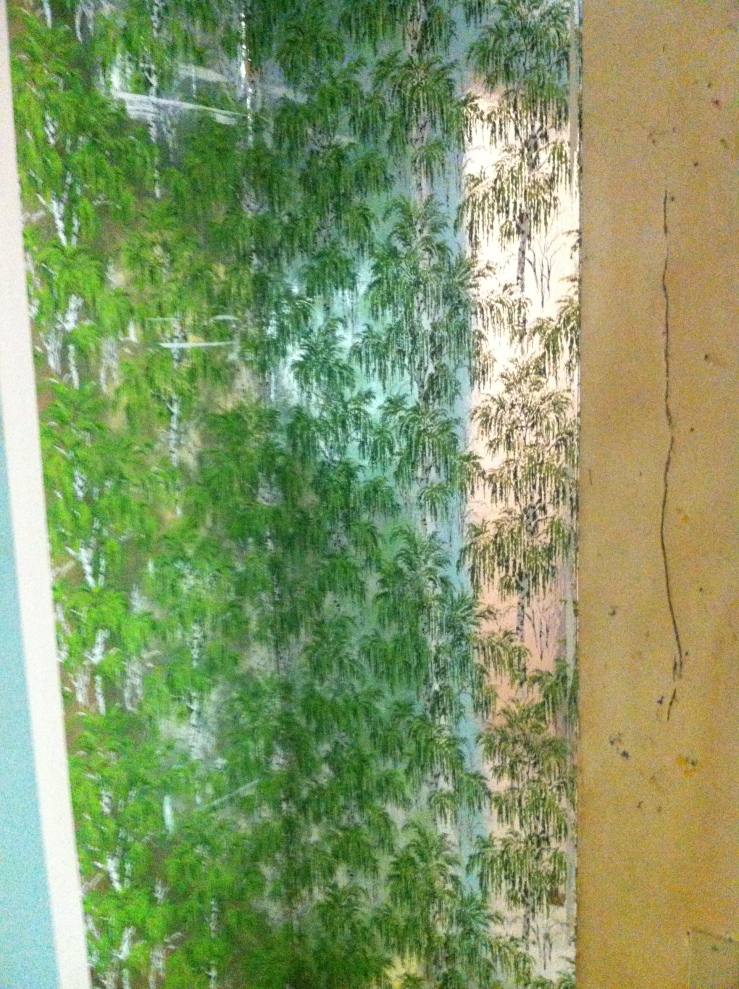
We had ripped down the sheet rock around the original chimney in the house that was used only for the wood burning stove. We were unsure whether we wanted to expose the brick chimney or leave the exposed old ship lap. We decided to leave the ship lap because we didn’t want to worry about sealing the gaps between the chimney and the floor since the chimney goes all the way to the ground under the house. We only had to pull off the original fabric wallpaper that was on the ship lap and patch the hole where the stove stack connected to the chimney with matching wood that we found in the garage.
Once all of this was done I began to order appliances… dish washer and range. Meanwhile I painted the walls and baseboards. The original window in the kitchen that I painted chalkboard paint (shown in the post here) had been done even before the floor! The next few months consisted of installing the appliances, deciding on the layout, and ordering more furniture. We then hung the pot rack and made the spice shelves. I had the Jackson Kitchen cart from my old house and I decided it would best as the counter near the range instead on the middle of the kitchen and opted for a smaller island to make the kitchen more open. The fridge was probably one of the last things I got for the kitchen. You can see my fridge post here.
The final finishing touch was installing the tin molding between the ceiling and the walls. We had to replace it since we ripped the sections off the walls and luckily the molding we picked matches really well!
We have truly be enjoying our kitchen the past few months. We like to cook together and having all of our new kitchen toys from our wedding has finally been fun to experiment with in our new kitchen! Our favorite things about the kitchen are probably the range (it really is just amazing and totally worth it if you enjoy cooking!) and the fan! The fan rotates and there is a remote to control the settings. We got the idea to put a fan because the house literally had a fan in every single room including over the master bathroom toilet… we realized “why not have a fan in every room!” We are both always hot and it helps air circulation. When it gets hot in the kitchen with the stove and oven going the fan is a nice touch!
I’m sure I’m forgetting something so feel free to ask questions if you have any! It has been a lot of hard work but it is definitely worth it now!


